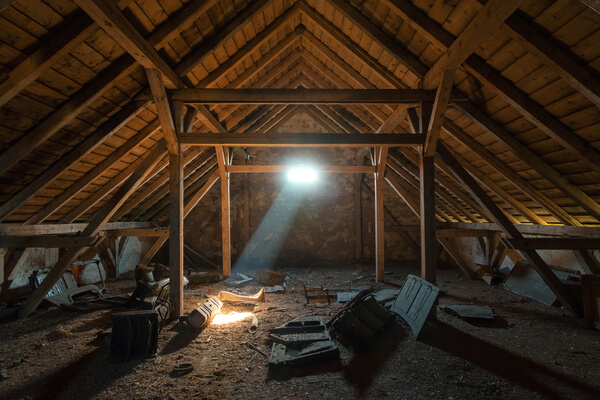
Bats play a critical role in controlling insect populations, especially mosquitoes. But when they roost in attics or walls, they can cause damage and health concerns. Installing a bat house (also known as a bat nesting box) provides a safe alternative for bats while keeping them out of your home.
The bat experts at Varment Guard have created this guide to walk you through how to build a bat house, including dimensions, materials, and mounting tips. Let’s encourage bats to roost safely outdoors!
Your Guide to Building a Bat House
Step One: Gather all Materials Needed to Build a Bat Box
Start by gathering these essential materials:
- Untreated plywood or cedar (¾" thick)
- Exterior-grade screws
- Black or dark-colored non-toxic stain
- Non-toxic caulk
- Mesh or plastic screening
- Mounting brackets or a sturdy pole
- Safety gear (gloves, mask, goggles)
Step Two: Design Your Bat Box
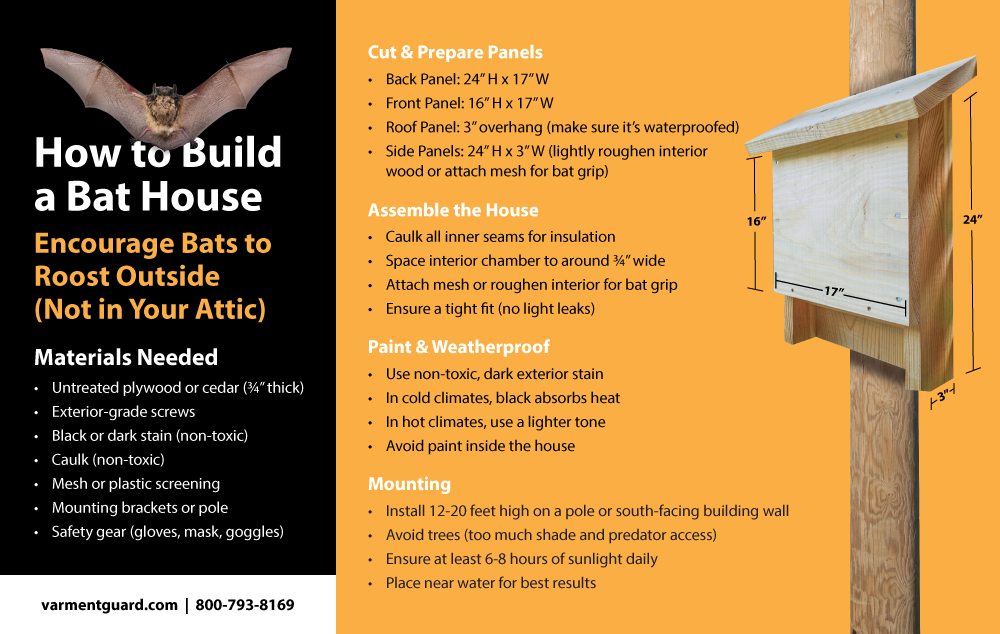
1. Prepare Your Bat Box Panels
Use these bat box dimensions:
- Back panel: 24" H x 17" W
- Front panel: 16" H x 17" W
- Side panels: 24" H x 3" W
- Roof panel: 3" overhang for rain protection
Lightly roughen the interior surfaces or attach mesh for bat grip. This added texture is crucial for bat safety.
2. Assemble the Bat House
Once your panels are cut, it’s time to put everything together to create a secure and inviting space for bats:
- Caulk all interior seams for insulation: Use non-toxic caulk to seal gaps where panels meet. This helps maintain warmth inside the box and prevents drafts that could deter bats.
- Space the interior chamber to around ¾" wide: The space between the front and back panels should be approximately ¾ inch. This is wide enough for bats to fit through, but narrow enough to retain heat.
- Ensure a tight fit to prevent light leaks: Bats prefer dark, cave-like spaces. Avoid gaps or misaligned panels that could let in sunlight or cold air.
- Attach mesh or score wood for grip: This gives bats a secure place to hang and climb.
3. Paint & Stain
Follow these tips to make sure the bats are safe and comfortable:
- Use a non-toxic, dark exterior stain (black is best in cooler climates)
- In warmer areas, use a lighter color to prevent overheating
- Never paint the interior of the bat house
- Avoid using treated wood
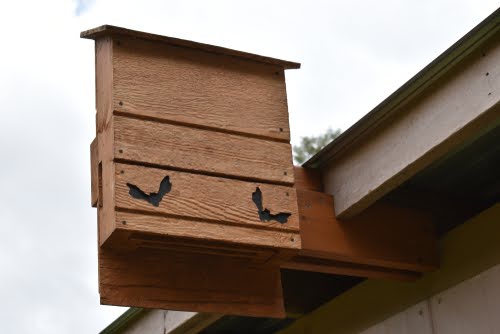
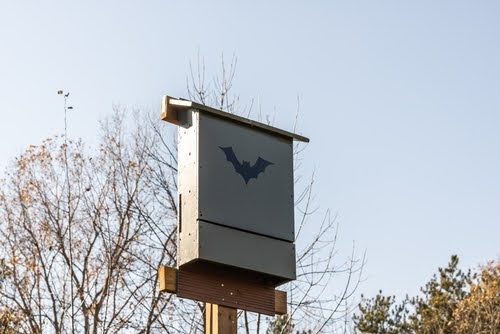
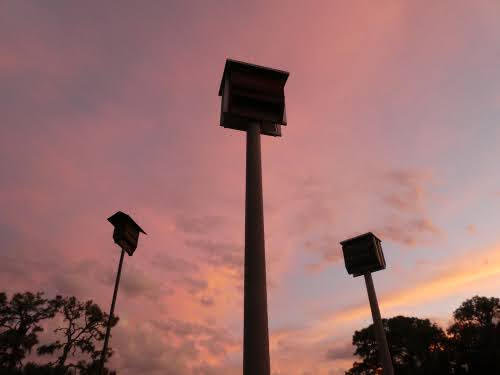
4. Mounting: Where & How to Put Up a Bat House
Mount your wooden bat house:
- 12–20 feet high on a pole or south-facing wall
- Avoid mounting in shaded areas or on trees, as these can limit sunlight and increase predator access
- Place near a water source for best results
- Ensure 6 to 8 hours of direct sunlight daily
How Bat Boxes Help with Bat Conservation
Putting up a bat house isn’t just fun for you and good for your home’s health, it helps protect bat populations. Many bat populations are in decline due to habitat loss and disease. These small wooden shelters provide safe, warm, and dry environments for bat families to raise their young. By building a DIY bat house, you support bat conservation efforts and reduce insect pests naturally!
Bats Don’t Belong in Your Home (They Belong in Theirs)
With the proper dimensions, sunlight, and mounting location, you can confidently create a bat box that encourages bats to roost outside and not in your attic. However, if you’re building your bat house a little too late and bats have already made themselves at home in your attic, get in touch with Varment Guard. Unlike building a bat house, bat removal is not a DIY project. We are licensed and state-certified professional bat removal specialists and we can bat-proof your home, remove an existing infestation, and repair bat-related damage.